Light Without Boundaries
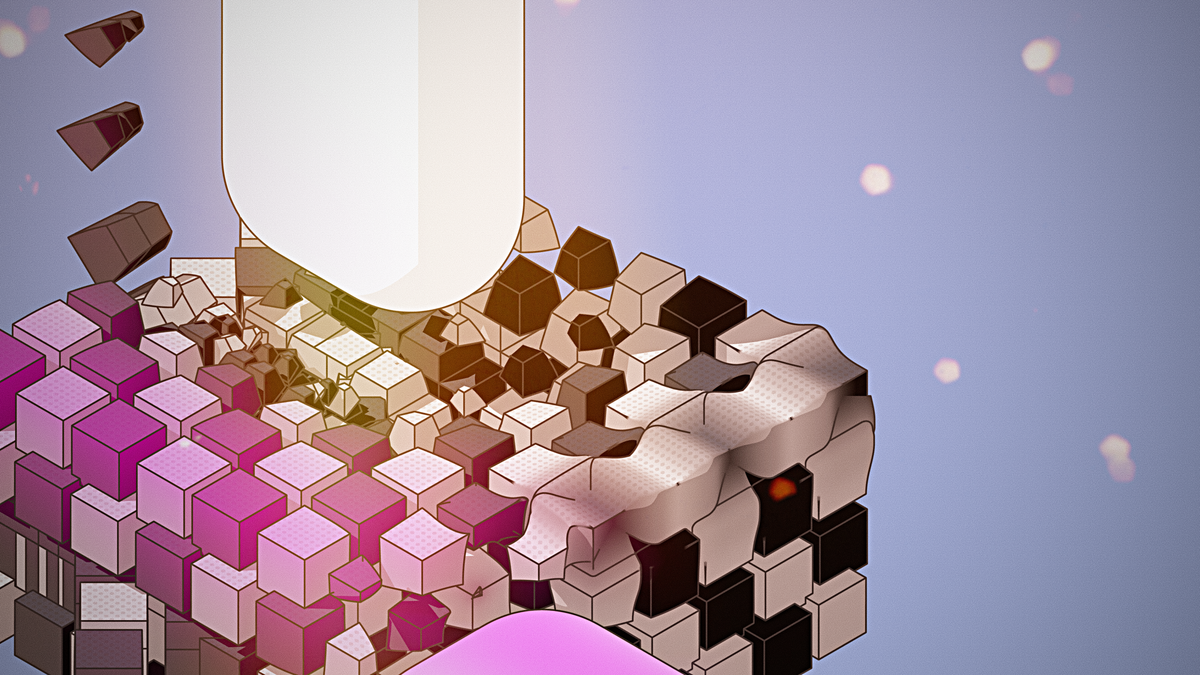
TL;DR, If you want virtual environment light gradually replacing your real-world shaded objects, use Virtual Environment Probe.
Achieving visual realism for virtual elements involves many parts, but lighting stands out as particularly challenging, especially in real-time rendering for platforms like visionOS and RealityKit.
Material surface behavior in response to light has reached an impressive stage due to the utilization of Physically Based Rendering (PBR) textures and advancements in their construction.
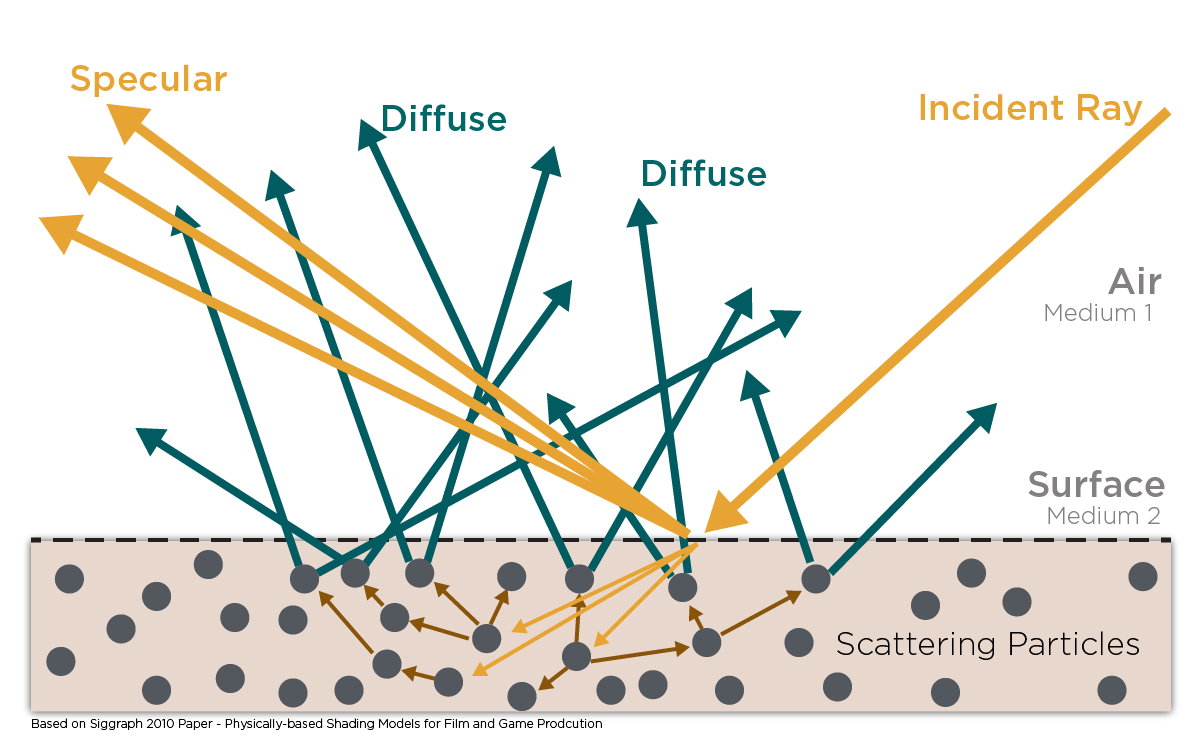
When discussing lighting, dynamic lights and Image-Based Lighting (IBL) it is hugely effective, but art directing lighting scenarios requires a combination of more techniques. While dynamic lighting can greatly enhance realism, the current constraints, such as the absence of real-time ray tracing, makes difficult to art direct certain light situation like long shadows, volumetrics, and/or subsurface scattering.
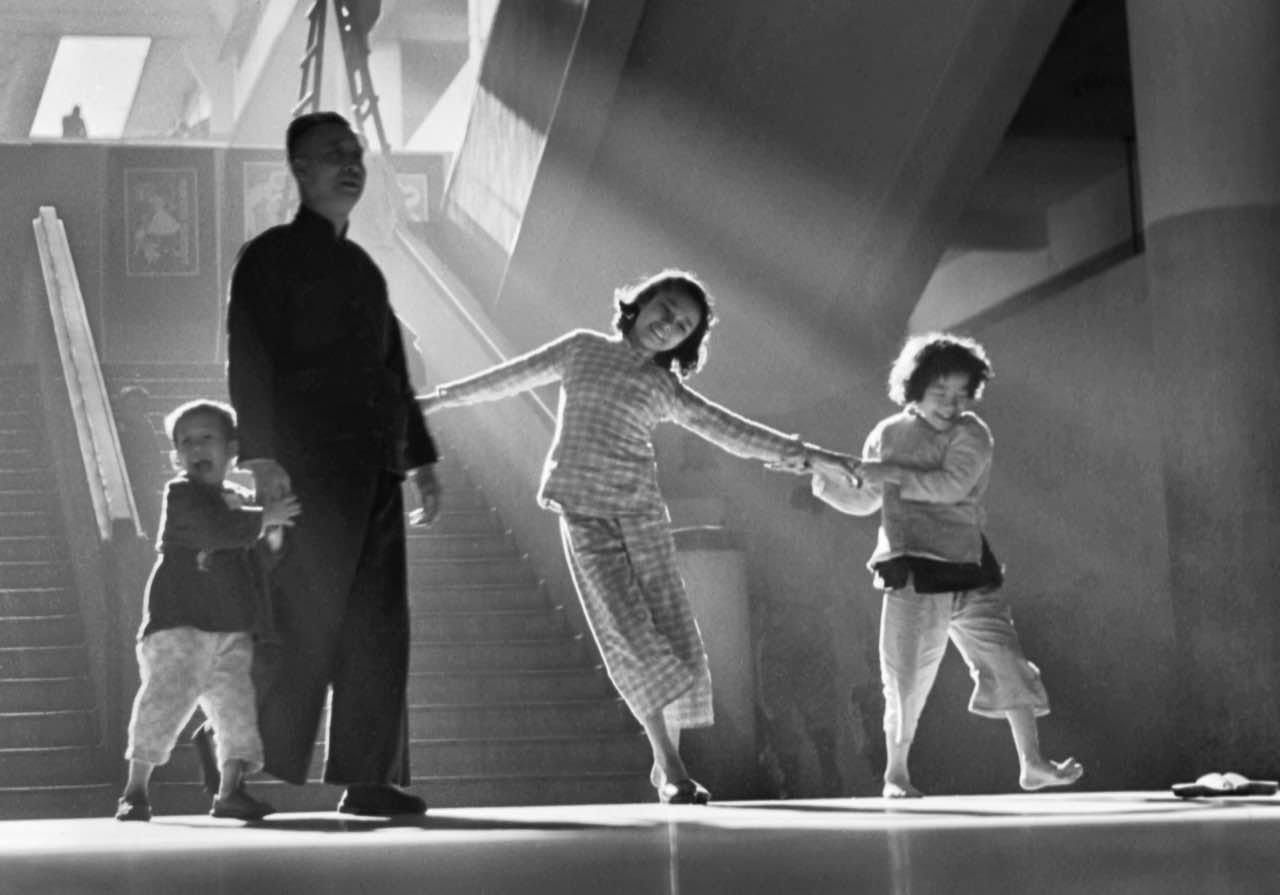
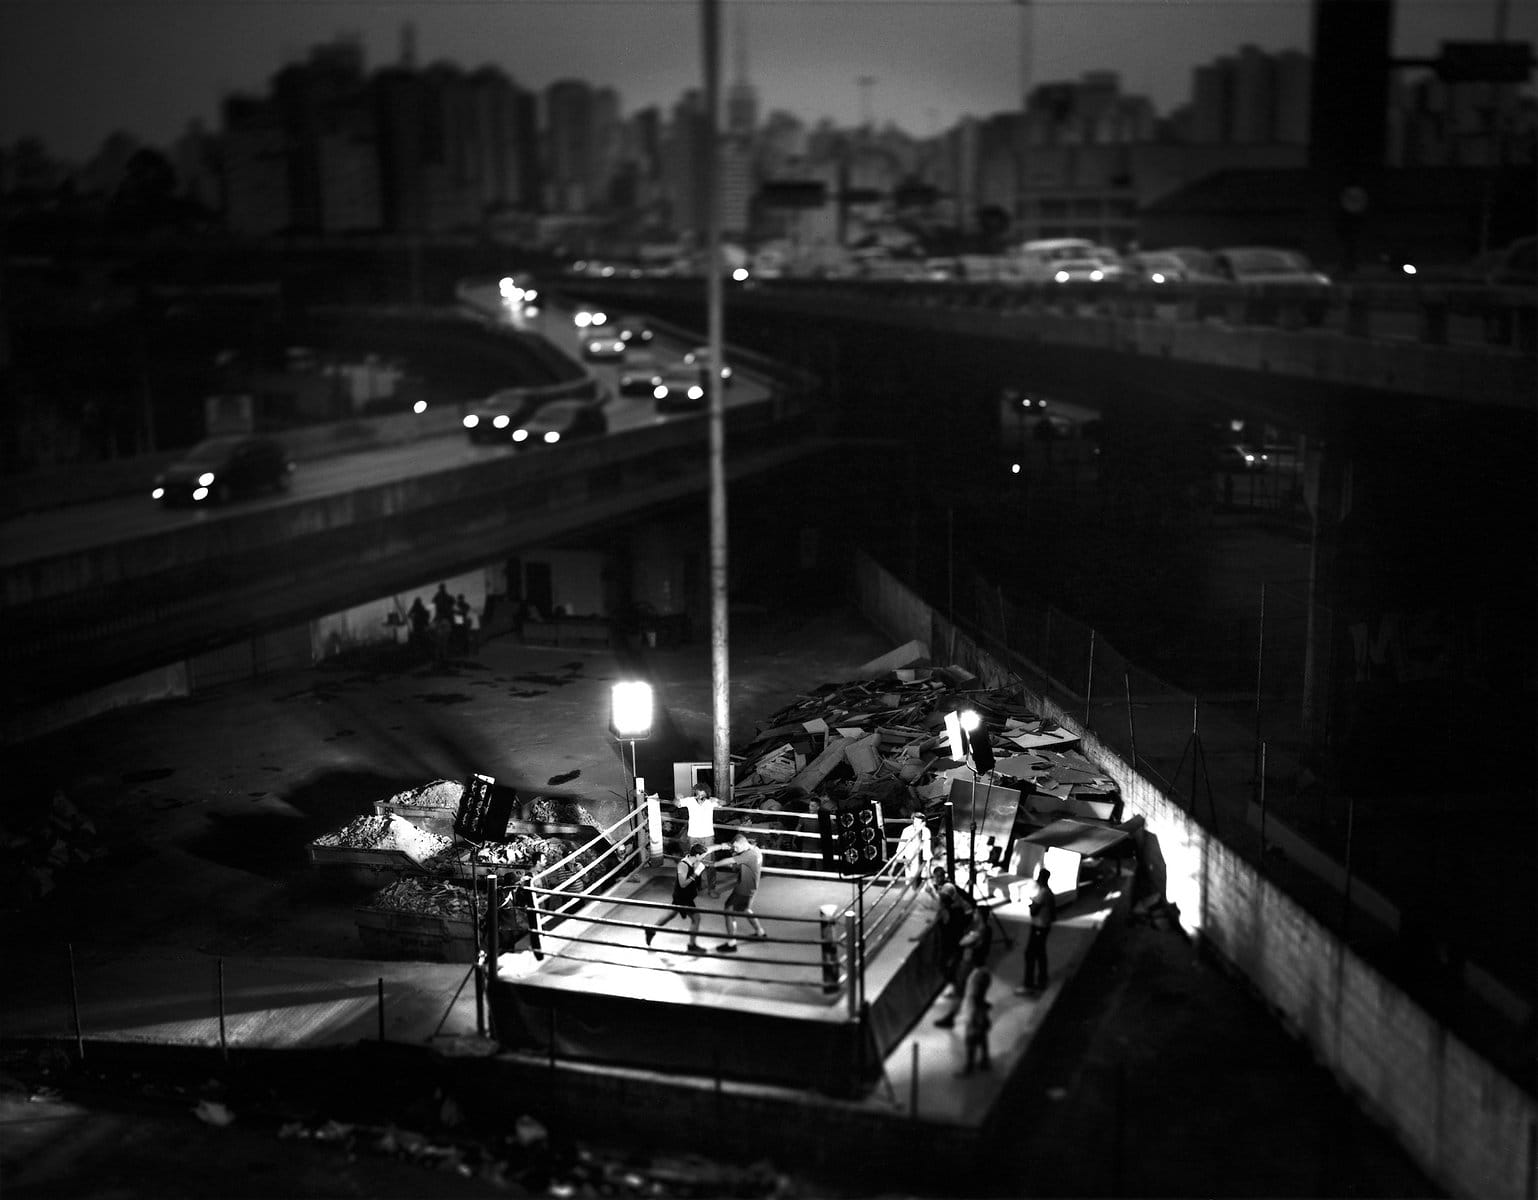
Photos of Fan Ho on the left and Tomasz Gudzowaty on the right, used for atmospheric inspiration, illustrate some scenes that could be difficult to recreate using real-time rendering engines.
In the context of RealityKit on visionOS, combining baking, IBL, PBR, and dynamic lighting is essential when creating immersive scenes. However, the mixed reality nature of the device brings even more complexities, particularly in handling dynamic lighting variations. For instance, a typical scenario involves transitioning from a daytime setting to a nighttime ambiance or moving from a passthrough view to a fully immersed experience. This is exactly the situation we found on The Green Spurt when dealing with a volumetric window that contained a table top board with most of the game equipment textured using PBR, which worked seamlessly when in passthrough, but as soon as we wanted to transition to fully immersive, the texture just didn't get the right lighting (or got completely dark in some cases). So what do you do in this situation?, on paper we realized that the light provided from the passthrough to the object material was not the same as the IBL we were providing in the immersive space, and we could not figure out how to use one or another in the opposite situation, nor could we imagine how to mix them smoothly to make a believable transition from "reality to virtuality."
The main element (table) of The Green Spurt game is placed under to different kinds of immersion, it can be observed that the lighting is correct whether in passthrough or system environments, but becomes absolutely dark when using custom environments.
Introducing the Virtual Environment Probe concept
Light probes in computer graphics are designated locations within a scene where the intensity and color of light are measured for later use in rendering, helping to enhance the realism of the virtual environment. And in the case of visionOS, a similar concept was introduced at WWDC24, the "Virtual Environment Probe"
The Virtual Environment Probe describes a location in terms of the color variation and illumination intensity.
On the session "Enhance the immersion of media viewing in custom environments" a brief explanation of how it can be used is mentioned (10:26)
The system can use this information to automatically shade any Physically Based Rendering material and closely approximates the way light bounces off objects.
You can use the probe to provide environment lighting for objects in your ImmersiveSpace, and if you are creating an environment using the progressive immersion style, this virtual environment lighting will gradually replace your real-world lighting for objects outside of the ImmersiveSpace.
Bingo! Exactly our situation; now it just remains to understand how to implement it. Of all the ARKit new APis released on WWDC24 sadly the only one that still doesn't have a dedicated sample code yet is the light estimation one.
On the Destination Video sample code, an environment probe is used on the main scene to later control a light and dark variation of the ambient (in the RCP package, it can also be observed the baking groups amount quality for these spaces). There's even an explanation for creating your own transition when blending
So we tried adding the VirtualEnvironmentProbeComponent to our immersive scene and filling the IBL for the virtual light source, but as we didn't know what to provide for the "passthrough light," it was left empty, compile, run, and surprise surprise, it did work!. Now we could go across the spectrum of immersion, and our textures are going to be flooded by a correct dynamic mix of both light sources.
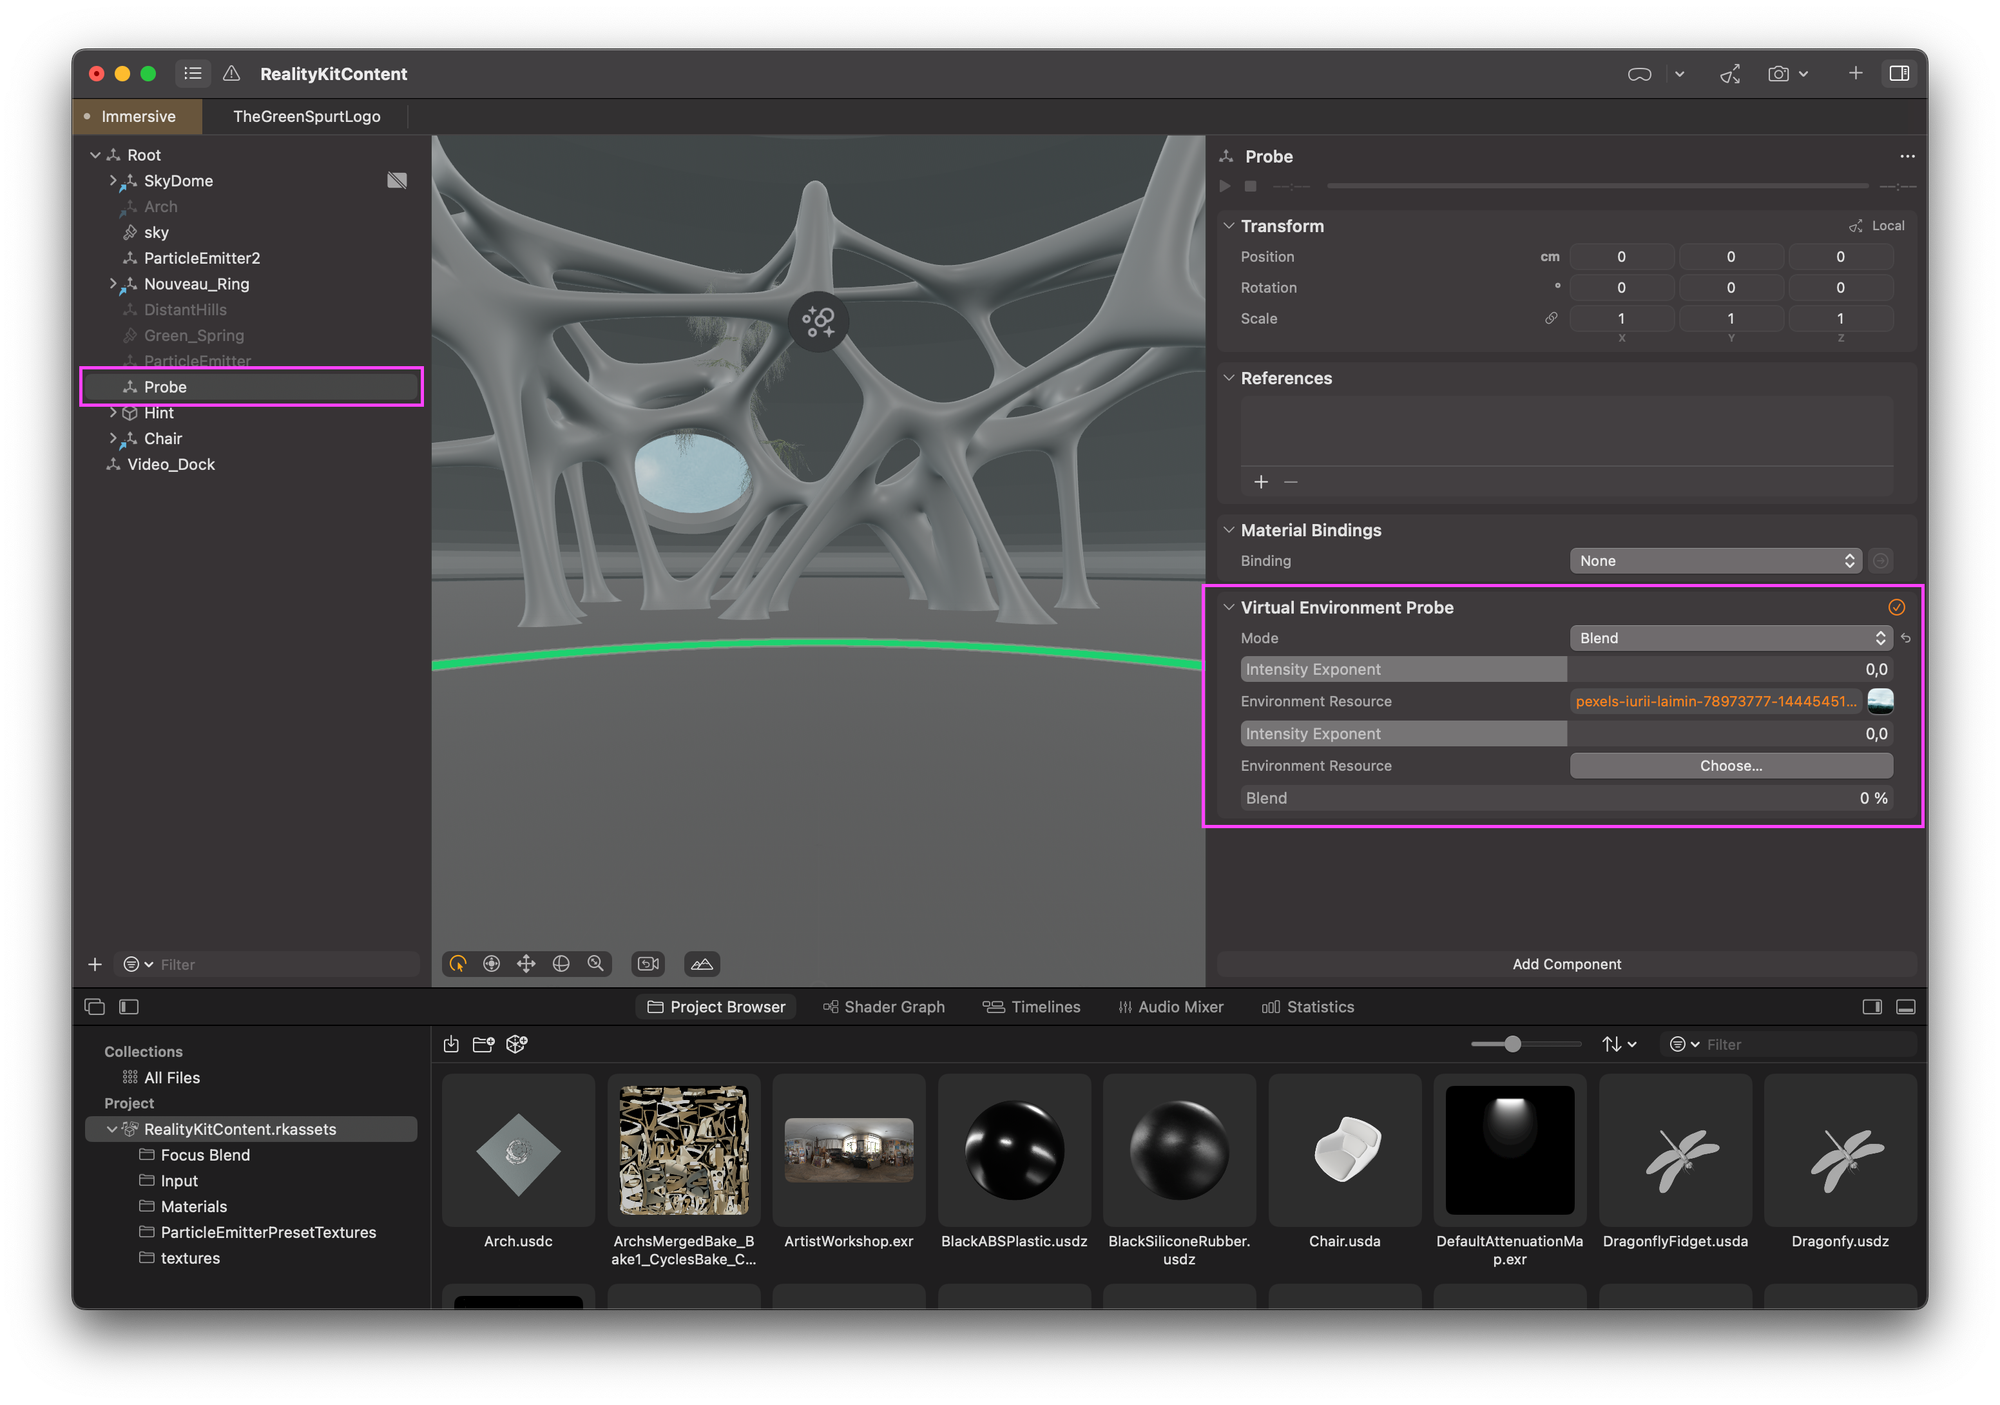
The main element (table) of The Green Spurt game is placed under to different kinds of immersion, it can be observed that the lighting is correct whether in passthrough or system environments, and thanks to lighting probes maintains a consisten realistic shading when using custom environments.
But how? How does this even work?!
Well, the note at the header says it:
/// - Note: In visionOS, ARKit automatically provides the environment lighting for the shared space.
@available(visionOS 2.0, iOS 18.0, macOS 15.0, *)
public struct VirtualEnvironmentProbeComponent : Component { ... }
Awesome, now we could either trust in the great magic of this comment and continue or delve into our memories and revisit the 2017 Environment Texturing explanation from the release of ARKit 2. It is fascinating to re-discover that the probable technique used to generate the environment light map from the passthrough remains captivating after this years. The technique as explained involves creating a cubemap that is autocompleted with ML for the parts that are not facing the sensor and updating it as frequently as possible, then passing it up to the pipeline to be used as IBL for shading, and finally when using Virtual Environment Probe, the component will be automatically fed with this cubemap and blend them automatically with the virtual IBL for you. How cool is that?!


Some relevant slides from the ARKit 2 presentation
Here is some graphics debugging showing what you is captured from the sensors during passthrough, with some details on the mipmaps and efficiency tips on how this encoder runs so fast
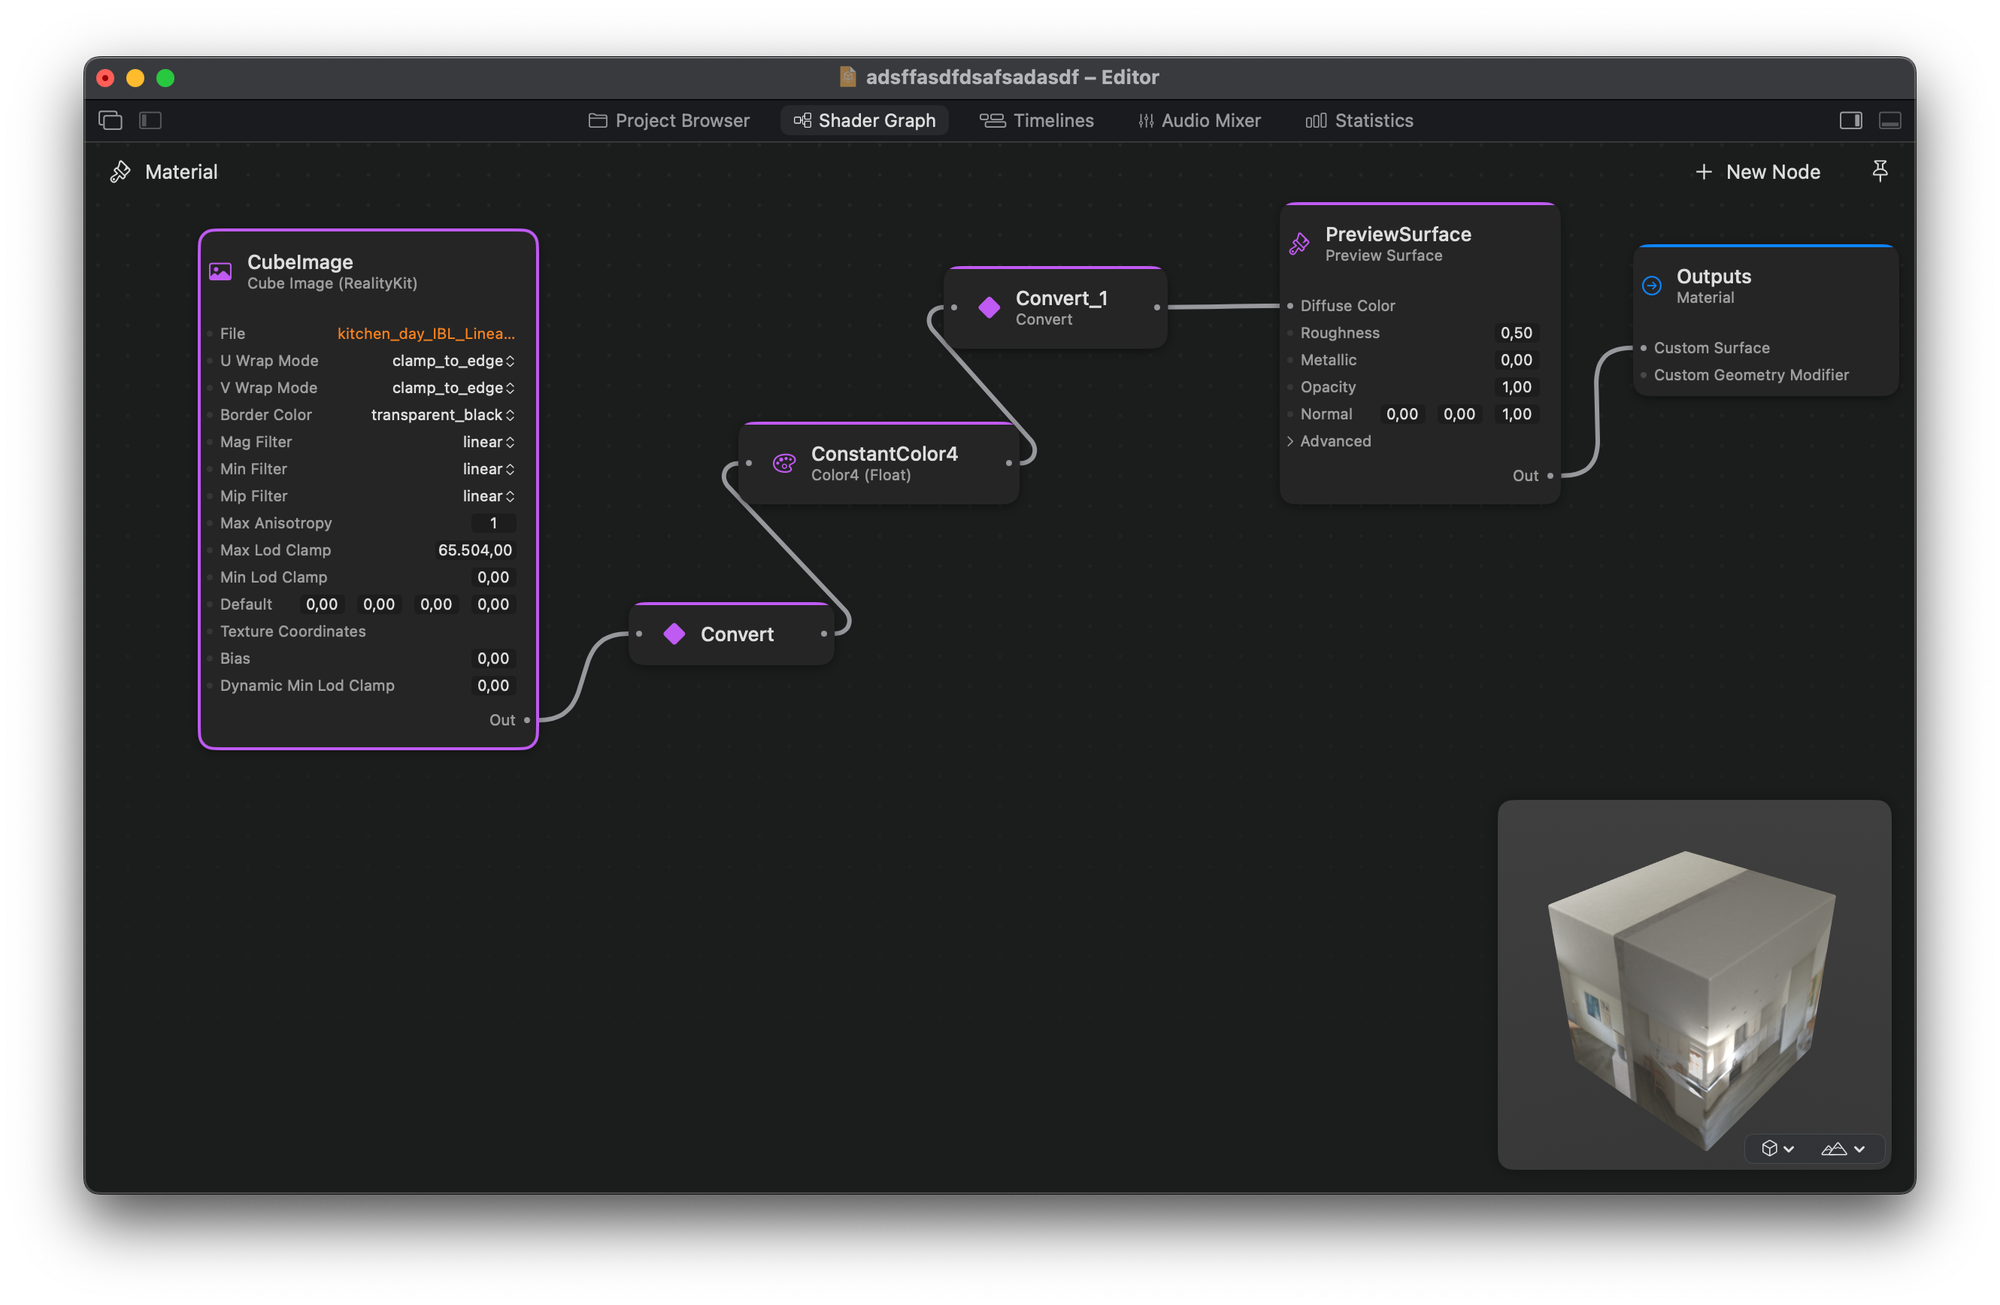
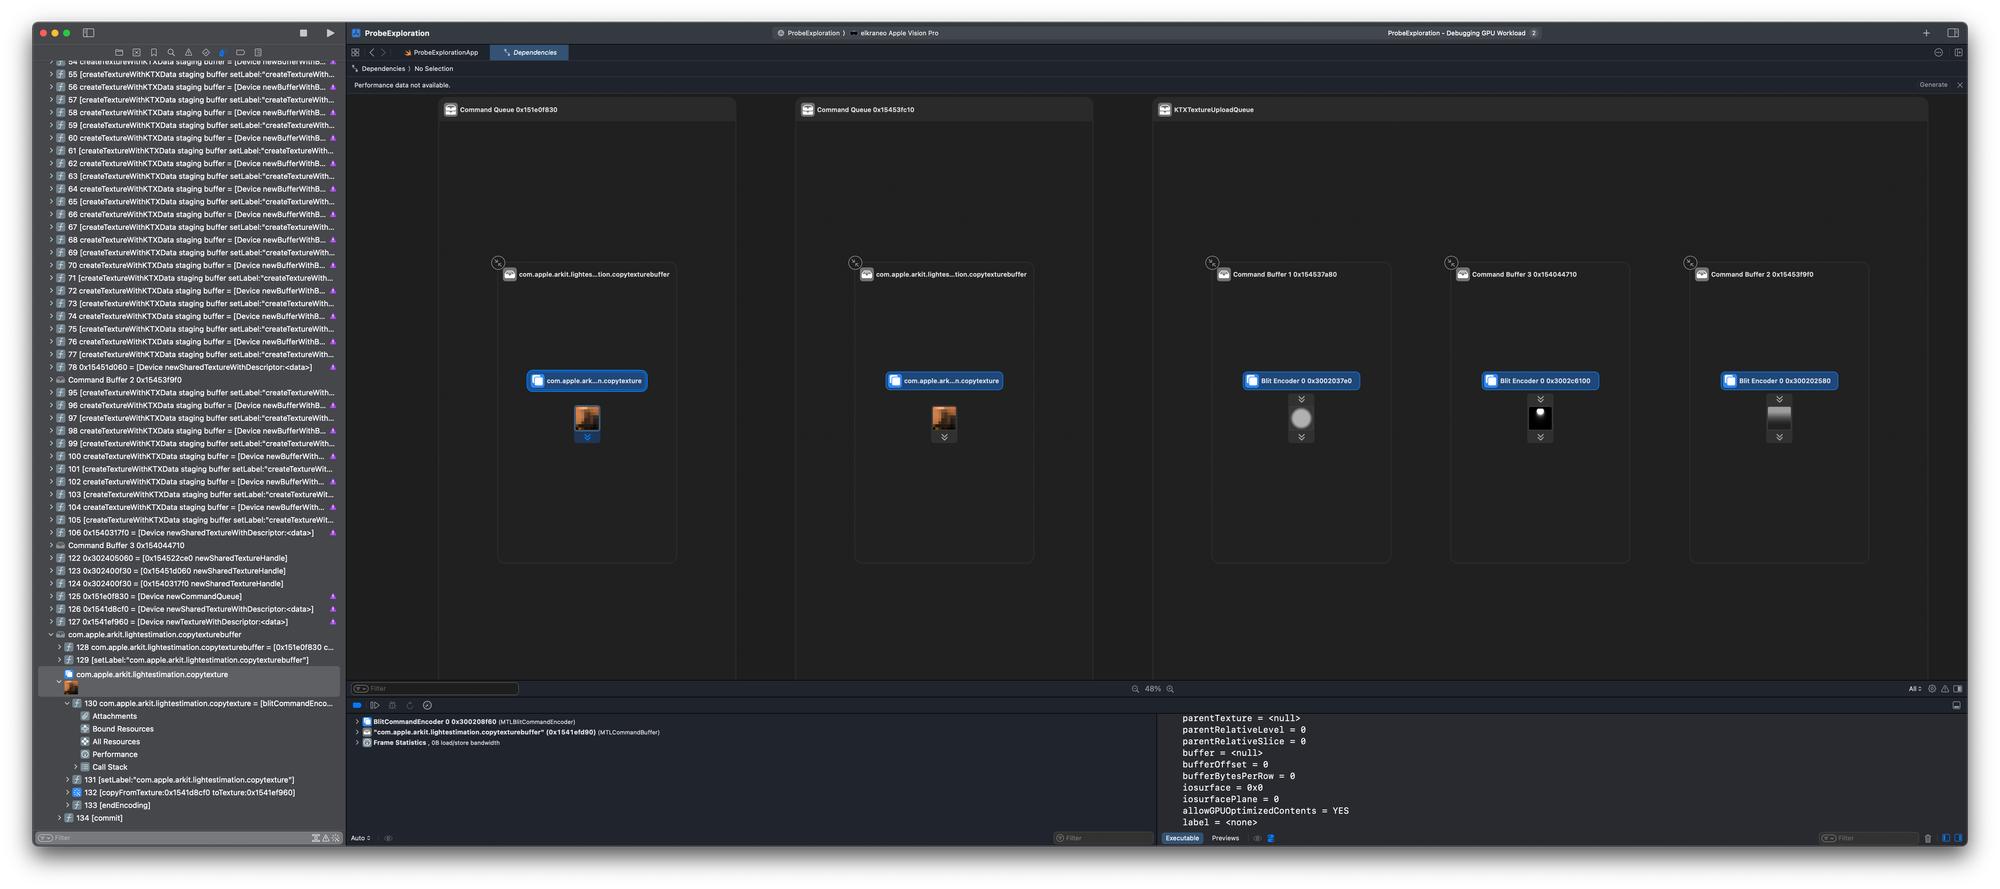
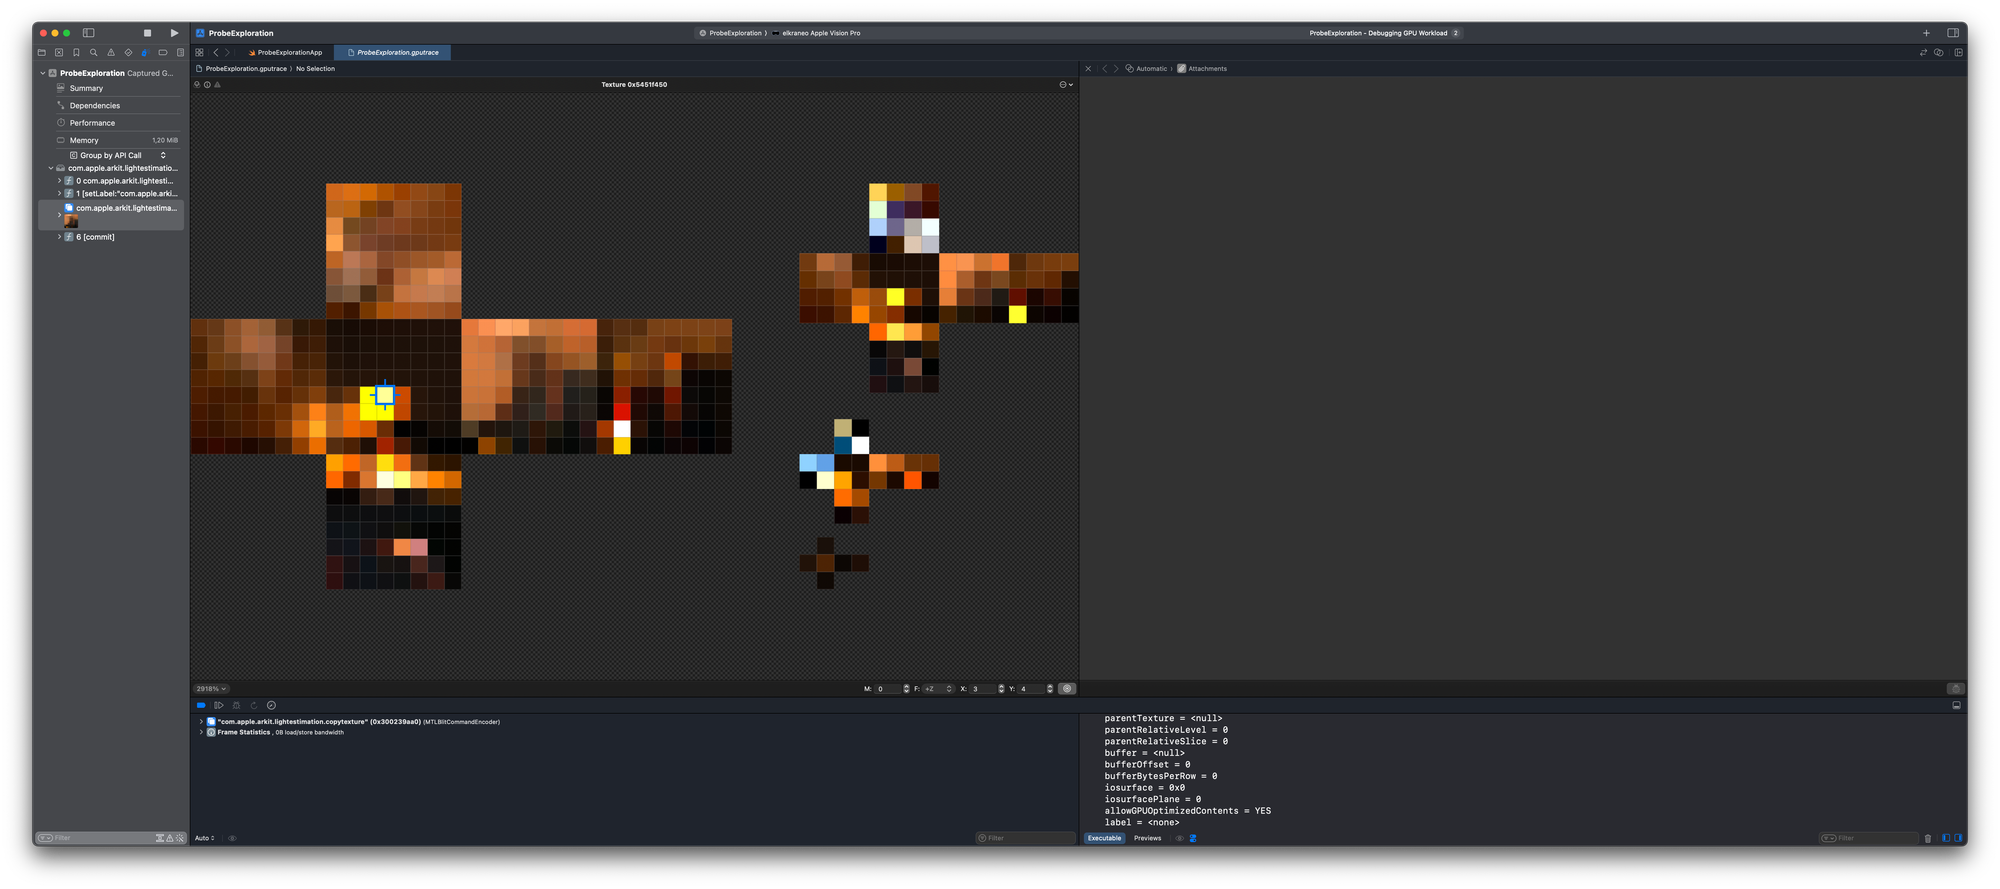
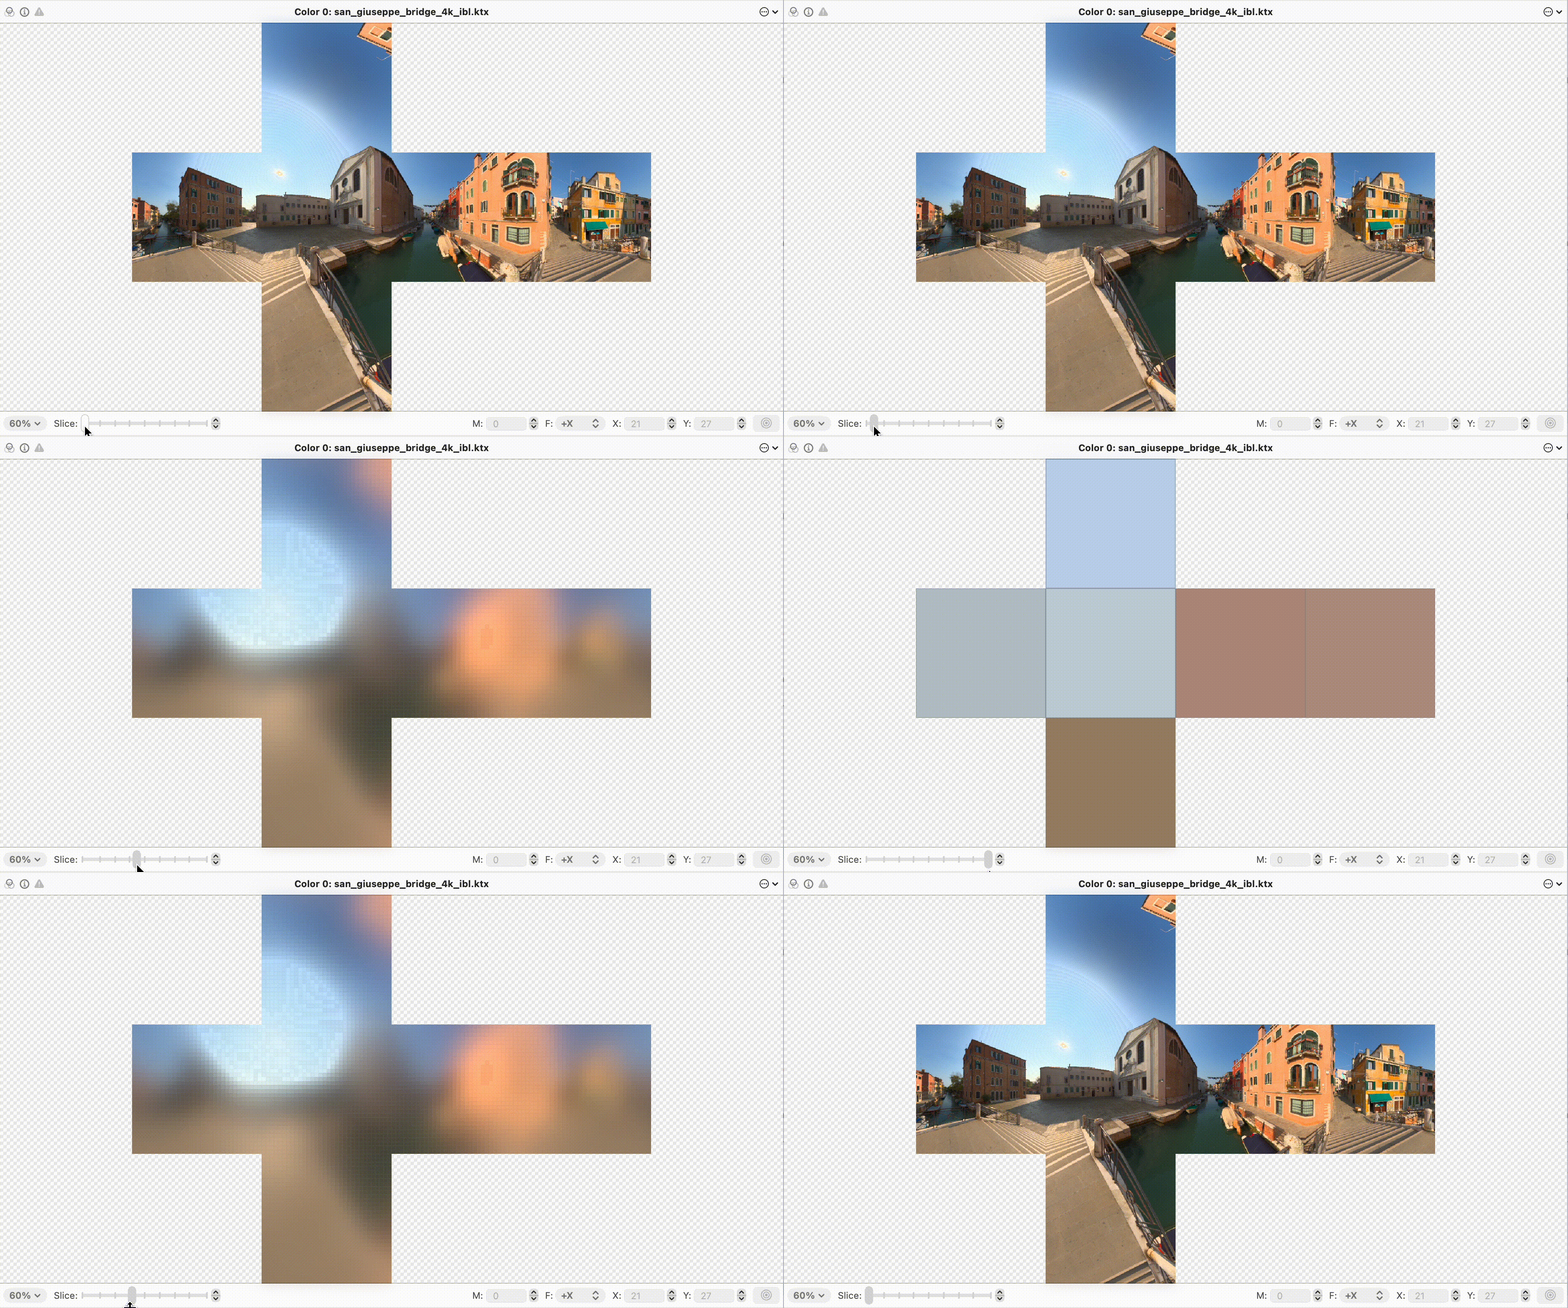
Understanding and utilizing theblitCommandEncoder()method is crucial for efficient Metal programming, especially when dealing with large data transfers or frequent texture updates in graphics-intensive applications or games.
https://developer.apple.com/documentation/metal/mtlcommandbuffer/1443001-blitcommandencoder
...
Returning to a higher level, it's worth highlighting another well-documented use case: the crossing portal use case, which allows a virtual object to enter or exit a virtual world in a believable manner—cool stuff all around.
To summarize, the use of light probes in visionOS demonstrates a sophisticated integration of techniques to merge real and virtual elements, especially in the context of visual lighting effects. It raises the question of whether a comparable implementation exists for audio behind the audio raytracing technique, maybe Virtual Audio Probes?...
Advanced Spatial Audio analyzes the room you’re in animation of particles simulating raytracing and acoustics
Xtra step(s)
Another interesting thing not touched on in this piece is the ARKit's EnvironmentLightEstimationProvider, which can be used to retrieve the probes anchors with an accompanying metal texture for each one. Imagine how cool debugging tool could be by using this.
<CaptureMTLTexture: 0x30240ca40> -> <AGXG14GFamilyTexture: 0x127f74ee0>
    label = <none>
    textureType = MTLTextureTypeCube
    pixelFormat = MTLPixelFormatRGBA16Float
    width = 8
    height = 8
    depth = 1
    arrayLength = 1
    mipmapLevelCount = 4
    sampleCount = 1
    cpuCacheMode = MTLCPUCacheModeDefaultCache
    storageMode = MTLStorageModeShared
    hazardTrackingMode = MTLHazardTrackingModeTracked
    resourceOptions = MTLResourceCPUCacheModeDefaultCache MTLResourceStorageModeShared MTLResourceHazardTrackingModeTracked
    usage = MTLTextureUsageShaderRead
    shareable = 0
    framebufferOnly = 0
    purgeableState = MTLPurgeableStateNonVolatile
    swizzle = [MTLTextureSwizzleRed, MTLTextureSwizzleGreen, MTLTextureSwizzleBlue, MTLTextureSwizzleAlpha]
    isCompressed = 0
    parentTexture = <null>
    parentRelativeLevel = 0
    parentRelativeSlice = 0
    buffer = <null>
    bufferOffset = 0
    bufferBytesPerRow = 0
    iosurface = 0x0
    iosurfacePlane = 0
    allowGPUOptimizedContents = YES
    label = <none>

https://metalbyexample.com/mipmapping/
