RealityKit Outline Selection

TLDR: MeshResource.contents, three passes, one PostProcessEffect
- Rasterize the selected mesh into an offscreen
R8Unormsilhouette mask - Dilate the mask into a pixel-wide edge ring, suppressing the interior
- Composite the outline color over the source frame
One of the most commonly requested affordances when dealing with 3d is object selection. A way to denote which subset of all the entities on the screen is currently in active focus. Since the introduction of RealityKit, this has been surprisingly difficult to achieve; here are some popular explored techniques.
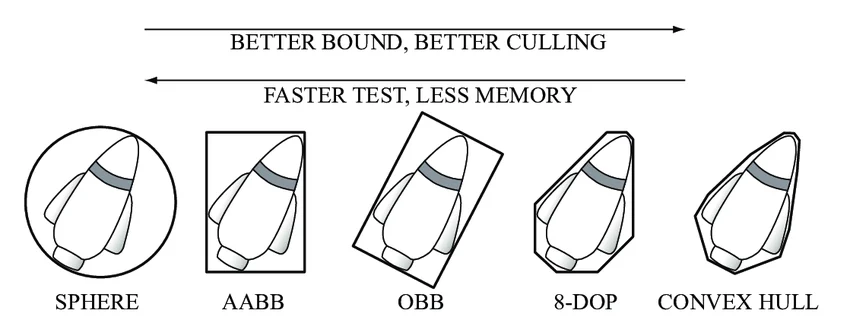
Bounding box
The simplest approach. RealityKit can draw an axis-aligned bounding box around any entity with no mesh access required.
It serves as an indicator of selection on simple geometry, signaling that something has been selected. On anything with an irregular silhouette, the box either clips the mesh or floats far away from it. It conveys location, not shape.
The process can become more sophisticated if you submerge yourself in the fascinating world of bounding box orientation.
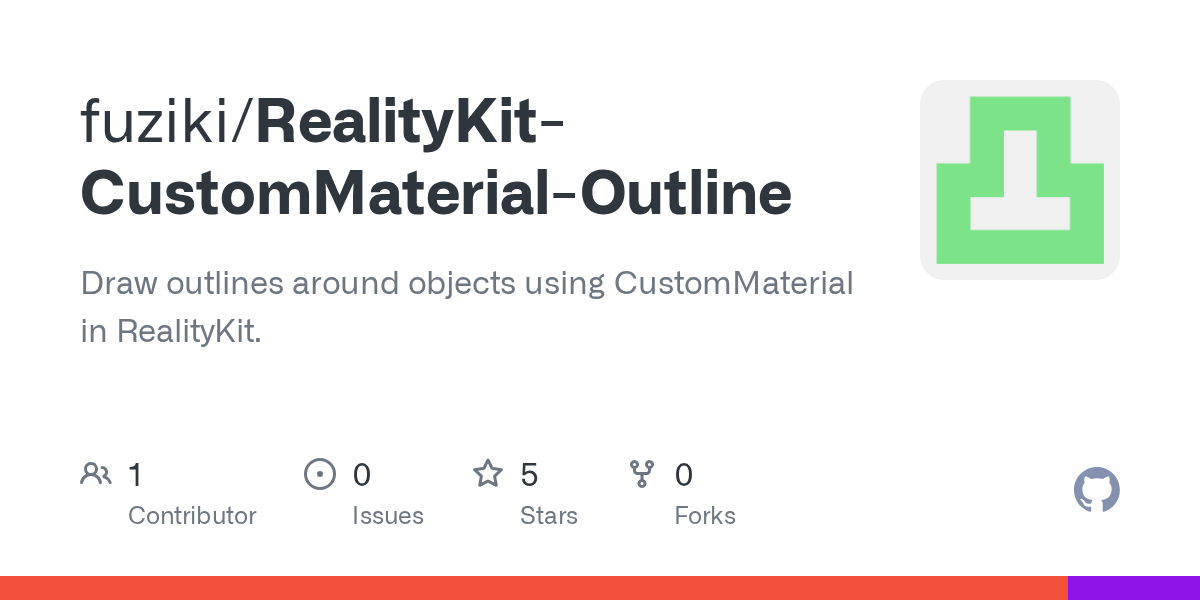
Inverted hull
This is a classic trick in Digital Content Creation (DCC). Duplicate the mesh, flip face winding so only backfaces render, apply an unlit solid color, and scale up slightly. The back-face shell extends slightly beyond the original mesh, creating an outline ring around it.
It works well on hard-surface models with convex geometry. It breaks on:
- Concavities—the scaled hull bleeds through concave areas, producing smear artifacts instead of a clean edge
- Tiny models—a fixed scale factor like
1.015produces near-zero screen-space expansion. The outline disappears - Huge models—the same factor produces a meters-thick shell
- Non-uniform scale—uniform hull expansion doesn't follow a stretched mesh correctly; outline is thicker on some axes
Compensating for camera distance can partially mitigate the scale issue. But model size and normals are separate problems the technique has no good answer for.


Post-process outline
This approach is the one we want. It never touches the scene hierarchy. Operates at screen resolution regardless of mesh complexity, model size, or poly count. The outline is always the same pixel width. Apple uses this for some viewports, like the one in RCP, but uses private APIs and can't be replicated with public ones yet.
How It Works
// Available when SwiftUI is imported with RealityKit
/// A struct for enabling or disabling post processing effects for all content a reality view contains.
@available(iOS 26.0, macOS 26.0, tvOS 26.0, *)
@available(visionOS, unavailable)
@available(watchOS, unavailable)
PostProcessEffect is a RealityKit protocol (macOS 26+, iOS 26+) that lets you inject Metal work between RealityKit's rendered frame and the display. You receive:
sourceColorTexture— the frame as rendered by RealityKittargetColorTexture— where you write the final outputcommandBuffer— ready to encode intoprojection— the current projection matrix
The outline is three passes encoded into that command buffer before the frame is presented.
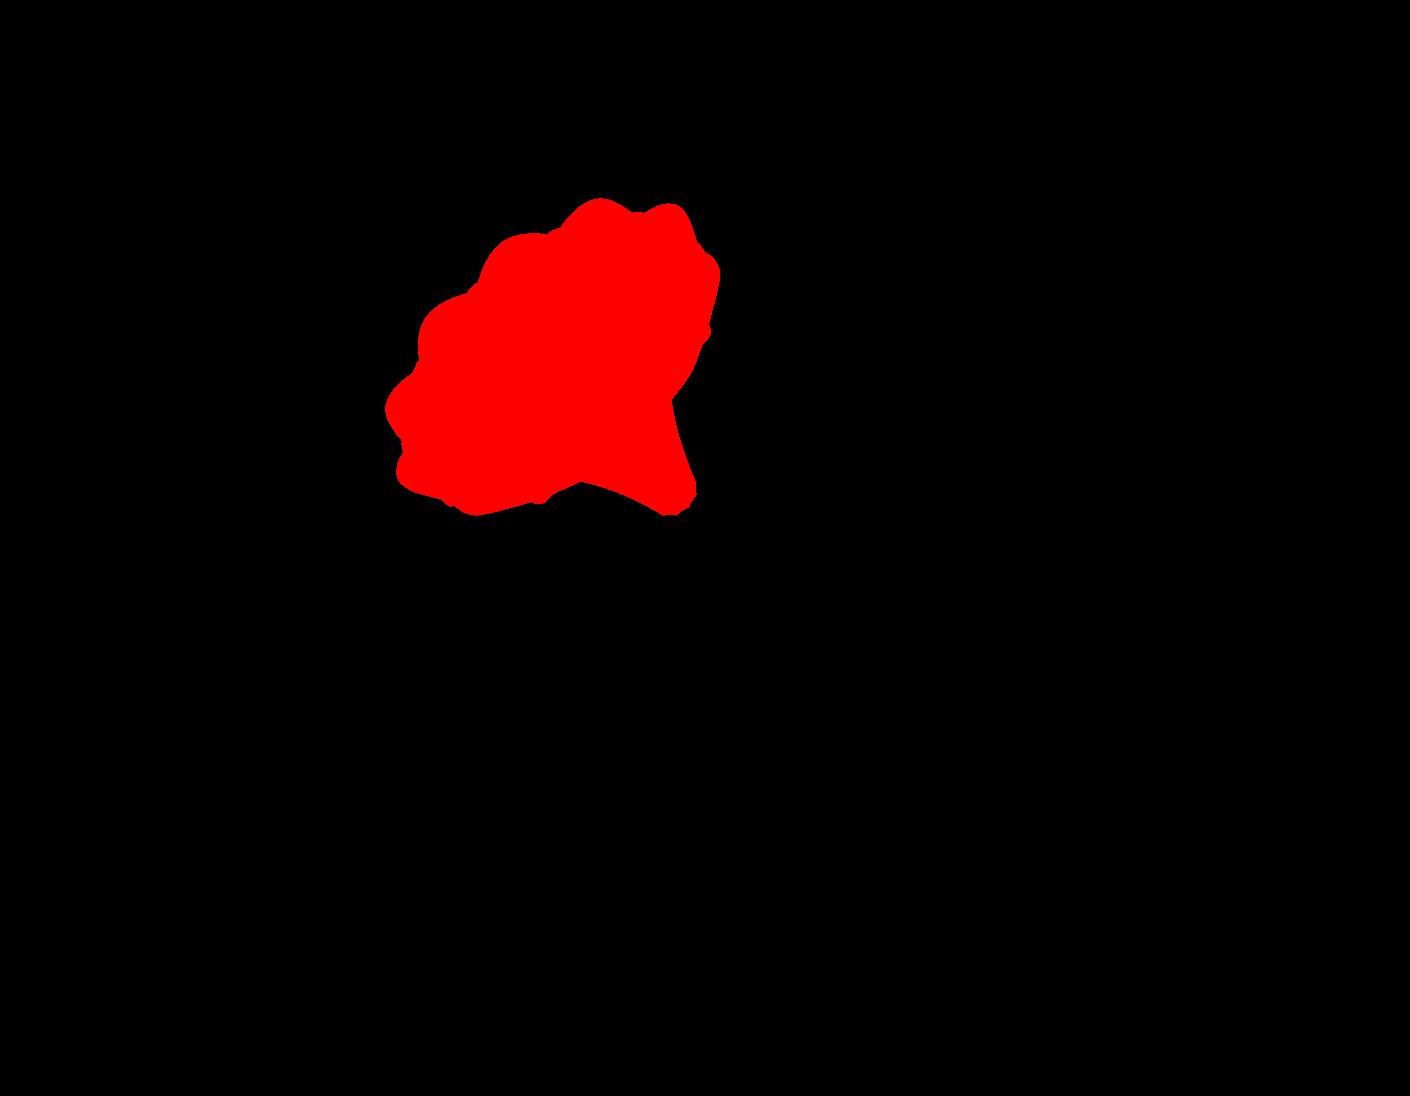
Pass 1: Silhouette Mask
Render the selected mesh's geometry into a single-channel R8Unorm texture. Every pixel covered by the mesh becomes white. The result is a binary silhouette at screen resolution.
The vertex shader needs only two things: packed positions and an MVP matrix.
vertex float4 outlineMaskVertex(
    const device packed_float3* positions [[buffer(0)]],
    constant OutlineMaskUniforms& uniforms [[buffer(1)]],
    uint vid [[vertex_id]]
) {
    return uniforms.mvp * float4(float3(positions[vid]), 1.0);
}

fragment float4 outlineMaskFragment(float4 position [[position]]) {
    return float4(1.0, 1.0, 1.0, 1.0);
}
No normals. No UVs. No materials. The mask pass only answers one question: which screen pixels are covered by this geometry?
A depth attachment is included so geometry occluded by other objects does not appear in the mask.
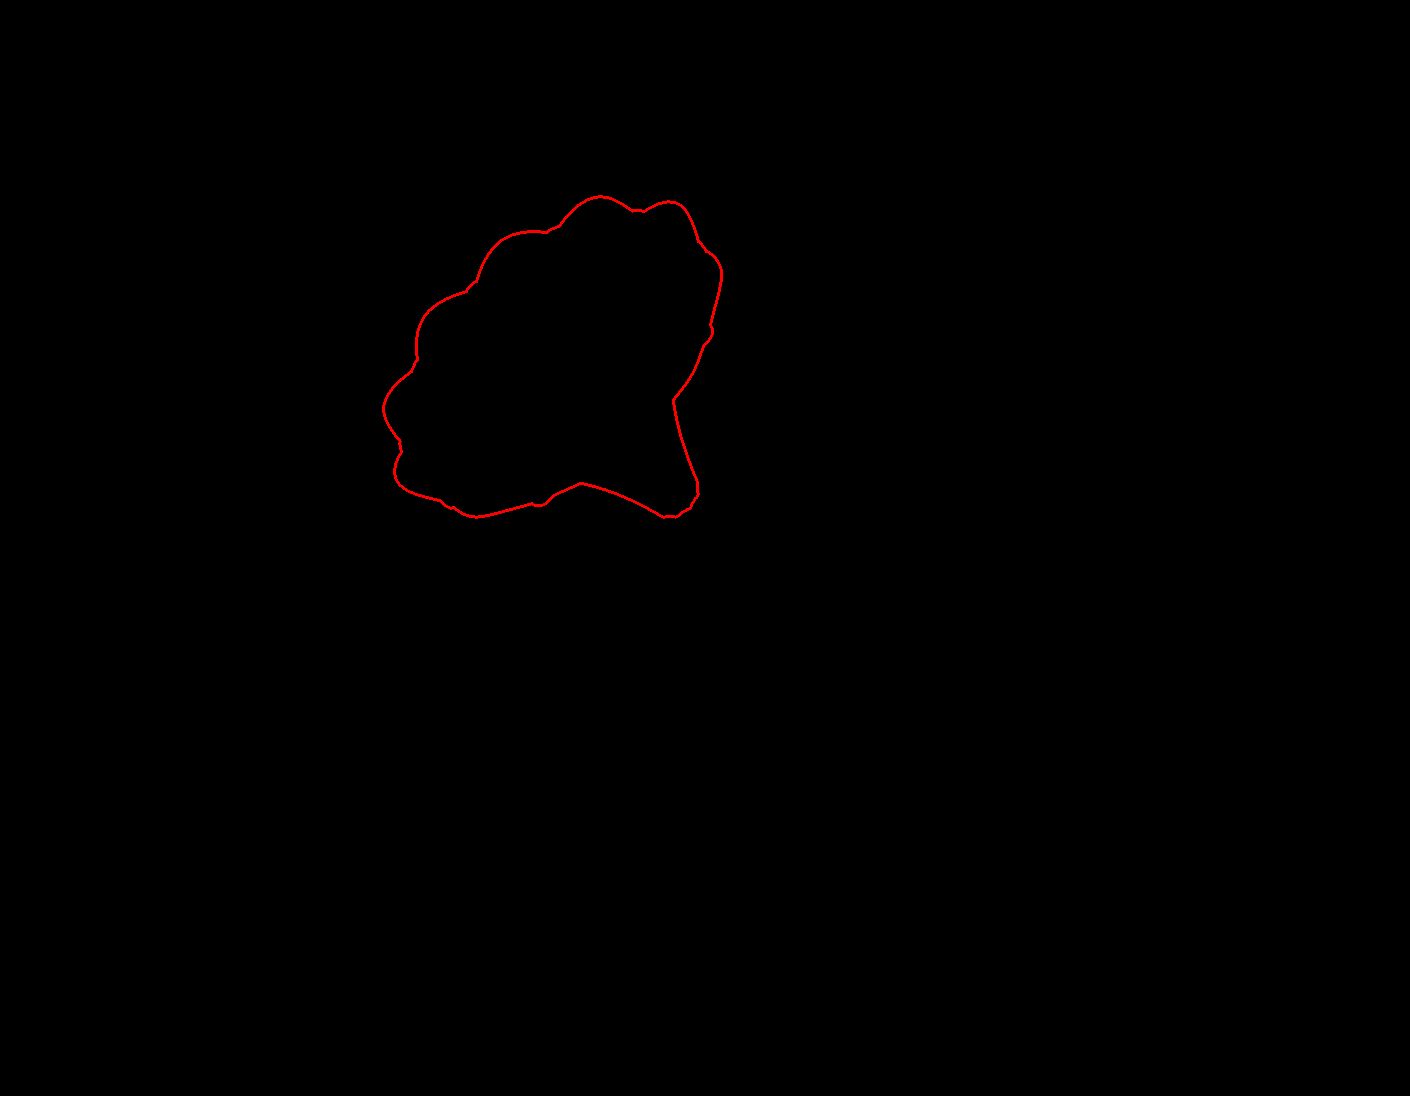
Pass 2: Dilation
Expand the mask outward by radius pixels. Pixels outside the mesh but within radius of the silhouette edge become 1.0. Interior pixels are explicitly suppressed to 0.0. The result is a ring at the silhouette boundary only.
kernel void outlineDilate(
    texture2d<float, access::read>  maskTexture [[texture(0)]],
    texture2d<float, access::write> edgeTexture [[texture(1)]],
    constant int32_t&               radius      [[buffer(0)]],
    uint2 gid [[thread_position_in_grid]]
) {
    if (maskTexture.read(gid).r > 0.5) {
        edgeTexture.write(float4(0.0), gid);  // interior — suppress
        return;
    }
    bool nearMask = false;
    for (int dy = -radius; dy <= radius && !nearMask; ++dy)
        for (int dx = -radius; dx <= radius && !nearMask; ++dx) {
            if (dx*dx + dy*dy > radius*radius) continue;
            if (maskTexture.read(uint2(int(gid.x)+dx, int(gid.y)+dy)).r > 0.5)
                nearMask = true;
        }
    edgeTexture.write(float4(nearMask ? 1.0 : 0.0), gid);
}
Pass 3: Composite
Blend the outline color over the source frame wherever the edge ring is set. Write to the target texture.

kernel void outlineComposite(
    texture2d<float, access::read>  sourceColor  [[texture(0)]],
    texture2d<float, access::read>  edgeMask     [[texture(1)]],
    texture2d<float, access::write> targetColor  [[texture(2)]],
    constant float4&                outlineColor [[buffer(0)]],
    uint2 gid [[thread_position_in_grid]]
) {
    float4 color = sourceColor.read(gid);
    if (edgeMask.read(gid).r > 0.5)
        color = mix(color, float4(outlineColor.rgb, 1.0), outlineColor.a);
    targetColor.write(color, gid);
}
RealityKit renders the scene first, without any alterations. The outline is integrated into the scene as a screen-space image operation after the initial rendering.

Getting Geometry Out of the Selected Entity
The mask pass requires packed float3 positions, triangle indices, and the world transform of the entity. That is all — nothing else is forwarded to the GPU.
ModelComponent gives access to MeshResource.contents. Each MeshResource.Part exposes typed positions and triangle indices directly:
let packedPositions = part.positions.elements.flatMap { [$0.x, $0.y, $0.z] }
let indexBytes = triangleIndices.withUnsafeBytes { Array($0) }
No buffer unwinding, no topology reconstruction. RealityKit provides indexed mesh data access at the CPU level.
Projection
The mask only aligns with the rendered object when the transform composition is correct:
mvp = projection * viewMatrix * modelMatrix
modelMatrix— entity world transform fromentity.transformMatrix(relativeTo: nil)at extraction timeviewMatrix— camera transform inverse, updated every frameprojection— fromPostProcessEffectContext
When nothing is selected
If nothing is selected, the three passes are skipped entirely, and a blit copy runs instead:
blit.copy(from: context.sourceColorTexture, ..., to: context.targetColorTexture, ...)
No render pass, no compute dispatch, no offscreen textures. The overhead when idle is effectively zero.
The one real cost
The textures are allocated fresh on every postProcess call. Allocating two full-resolution GPU textures per frame adds overhead that a production implementation would eliminate by caching them and only reallocating on viewport resize.
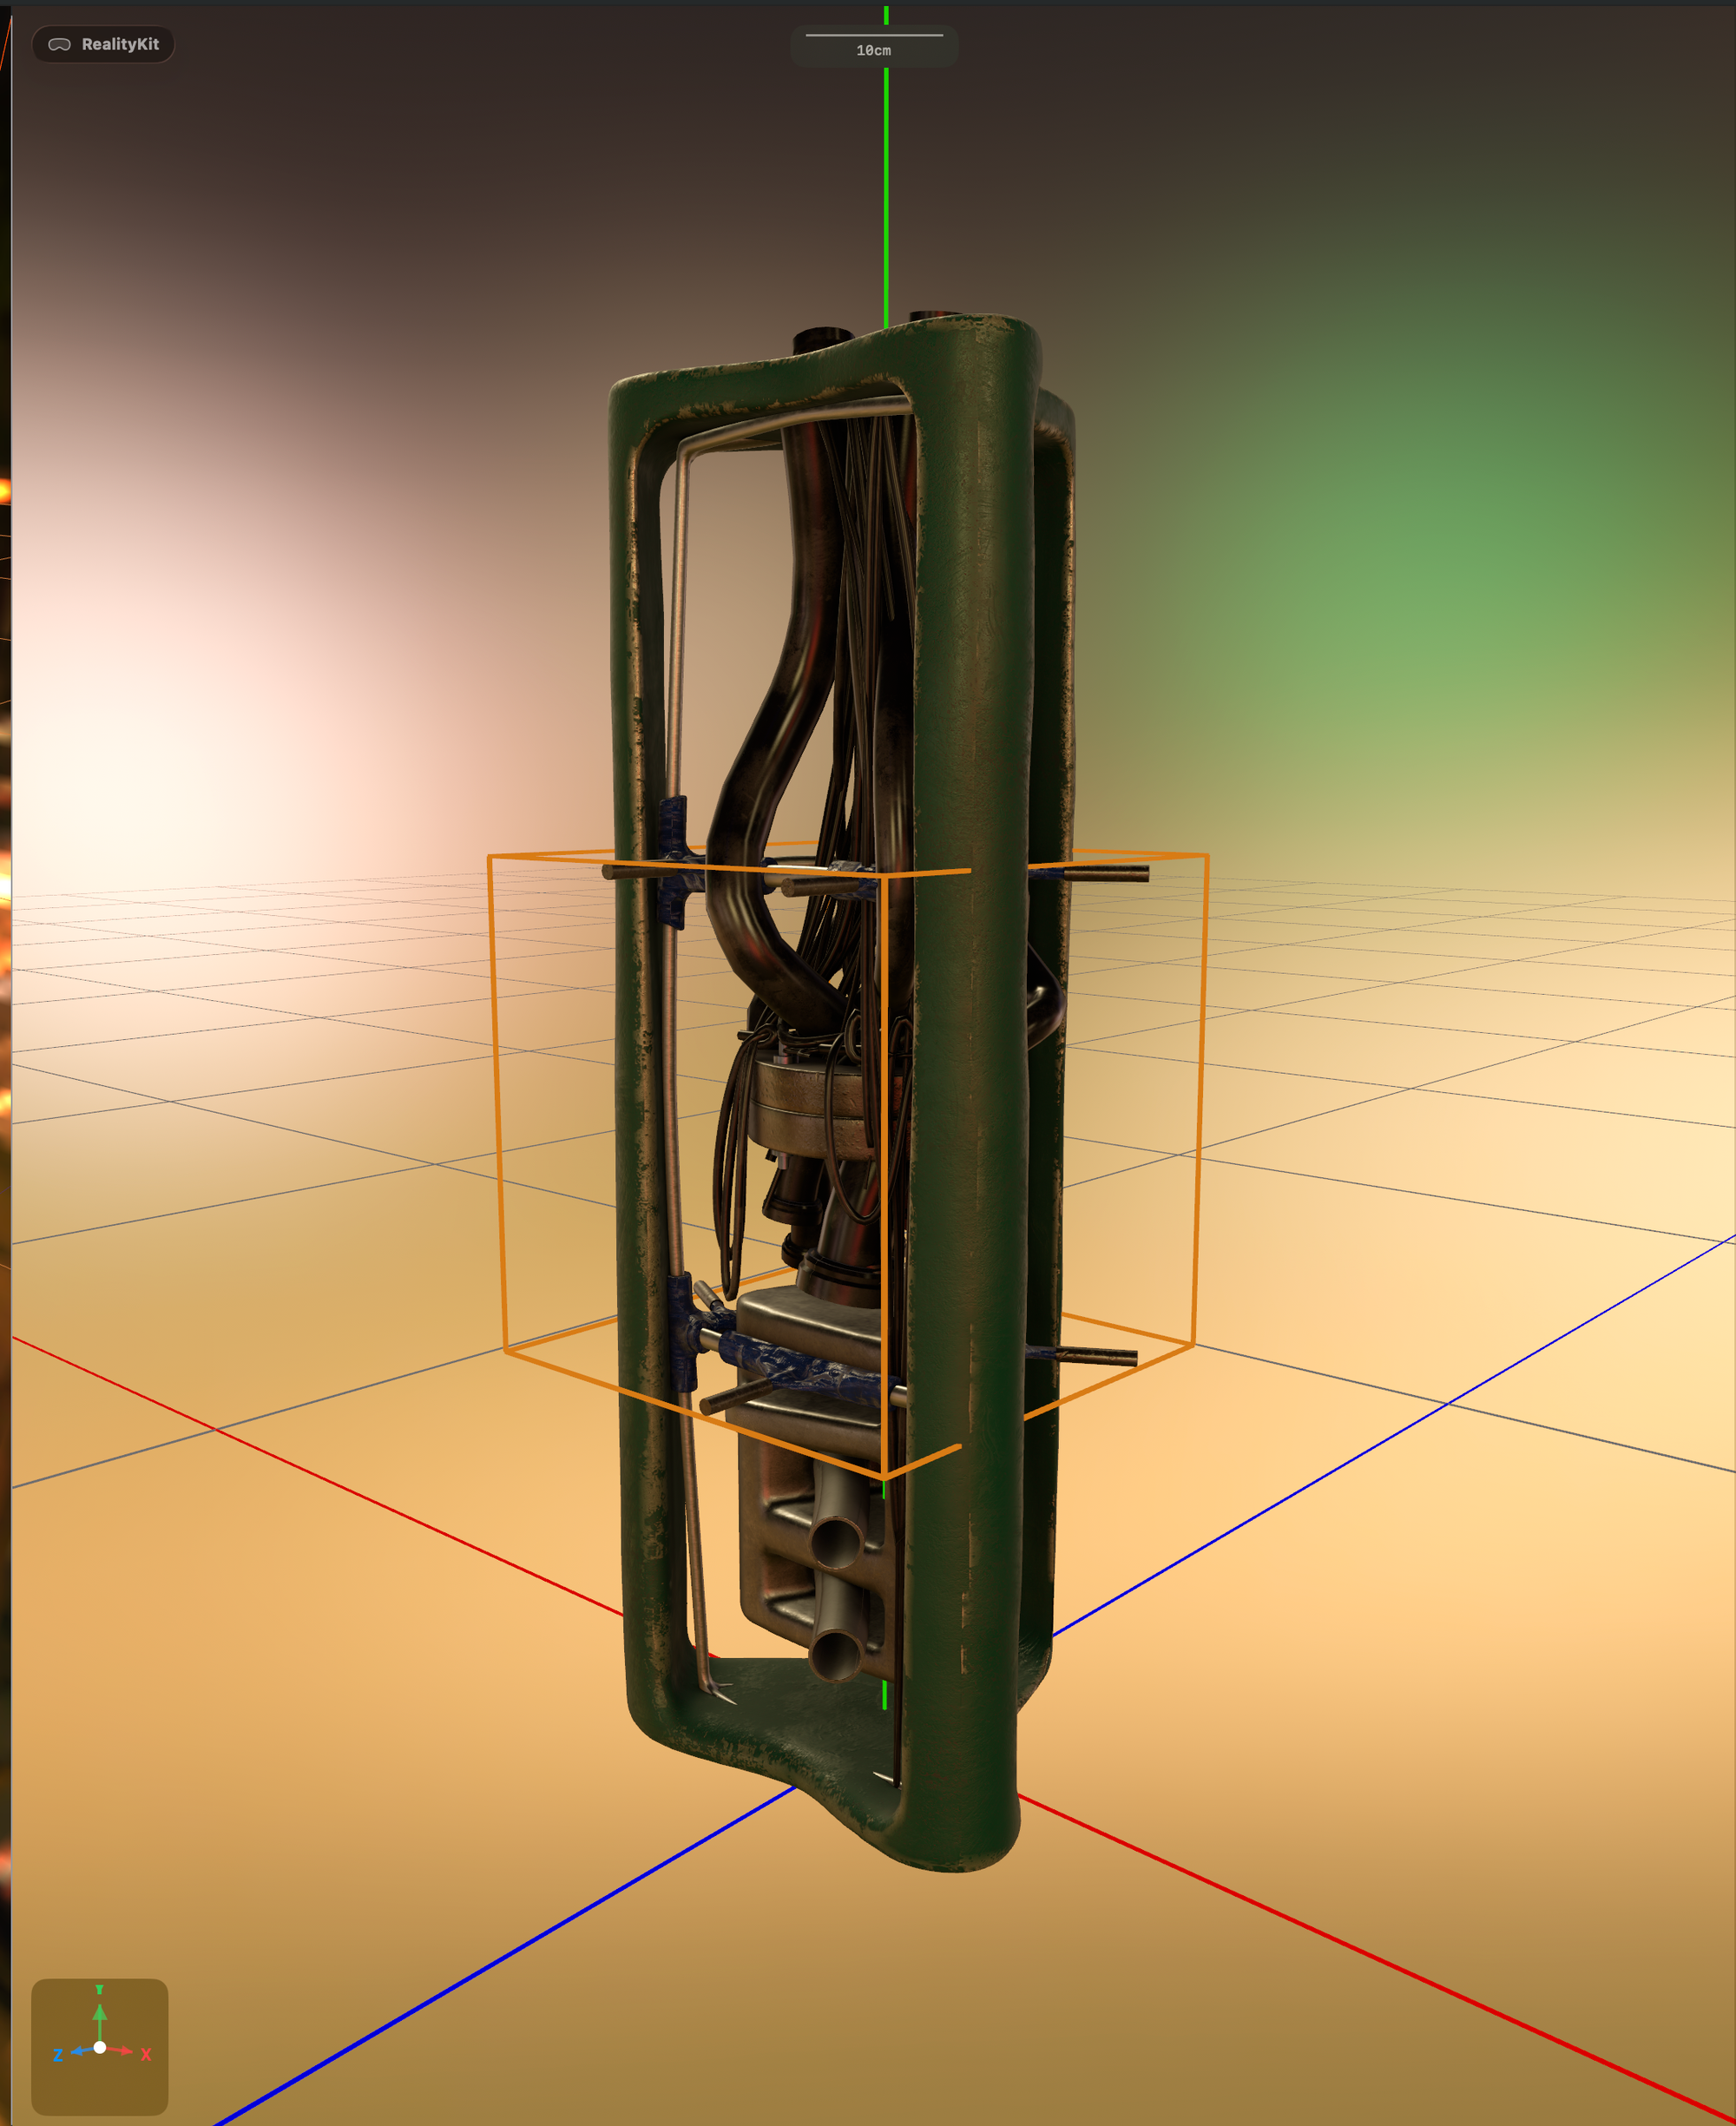
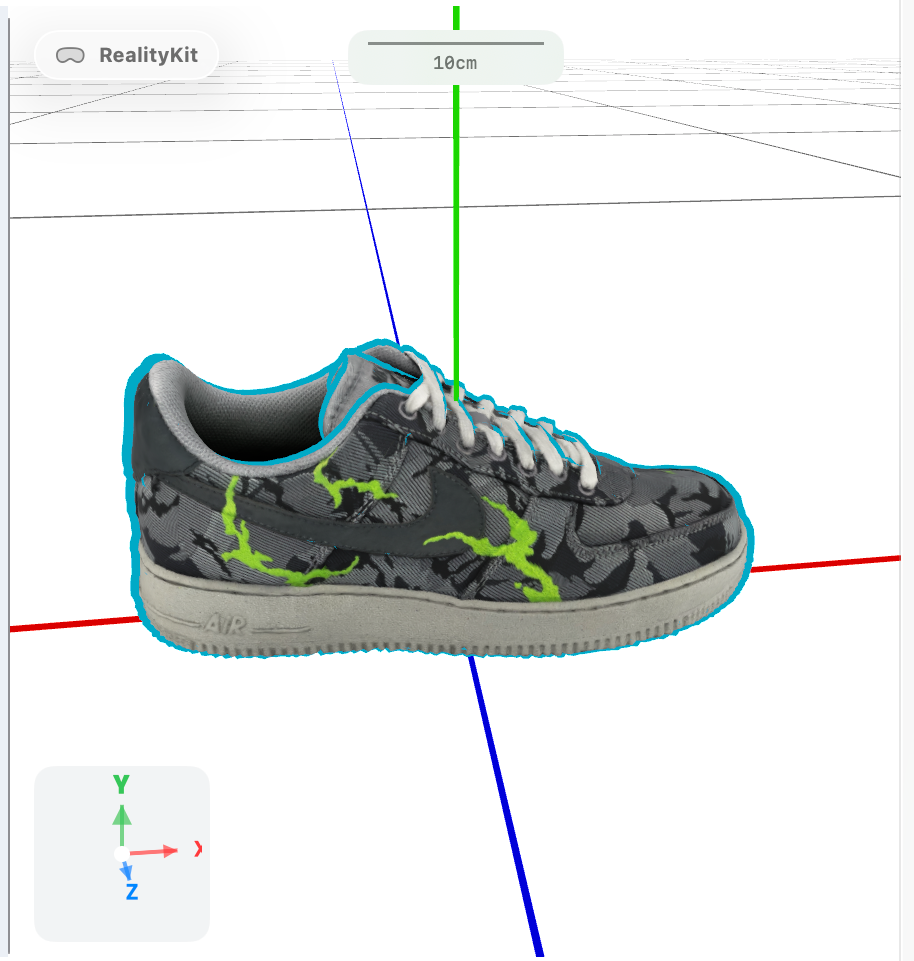
But aside from that, look at this beauty...